Wondering how to clean a circuit board? Dust, corrosion, or spilled liquids can damage it—but cleaning it properly can restore function and extend its life.
To clean a circuit board, you should remove power, use isopropyl alcohol, a soft brush, and proper drying methods to eliminate dirt, corrosion, or residue without damaging components.
Whether you’re repairing a computer, a TV remote, or a Raspberry Pi, keeping the circuit board clean is critical. Contaminants like dust, oxidation, or leftover flux can cause shorts, overheating, or failure. But cleaning a PCB isn’t just about grabbing alcohol and scrubbing—it requires care, patience, and the right tools to avoid damaging delicate components or traces.
In this guide, I’ll walk you through how to safely clean a circuit board, what materials you need, and when it’s best to leave it to a professional.
✖
Always disconnect power and safely discharge capacitors before cleaning. Cleaning while powered risks short circuits, shocks, and component damage.
✖
Unless using deionized water and allowing the board to dry completely, cleaning with water can cause corrosion, residue buildup, or electrical shorts.
Why Clean a Circuit Board?

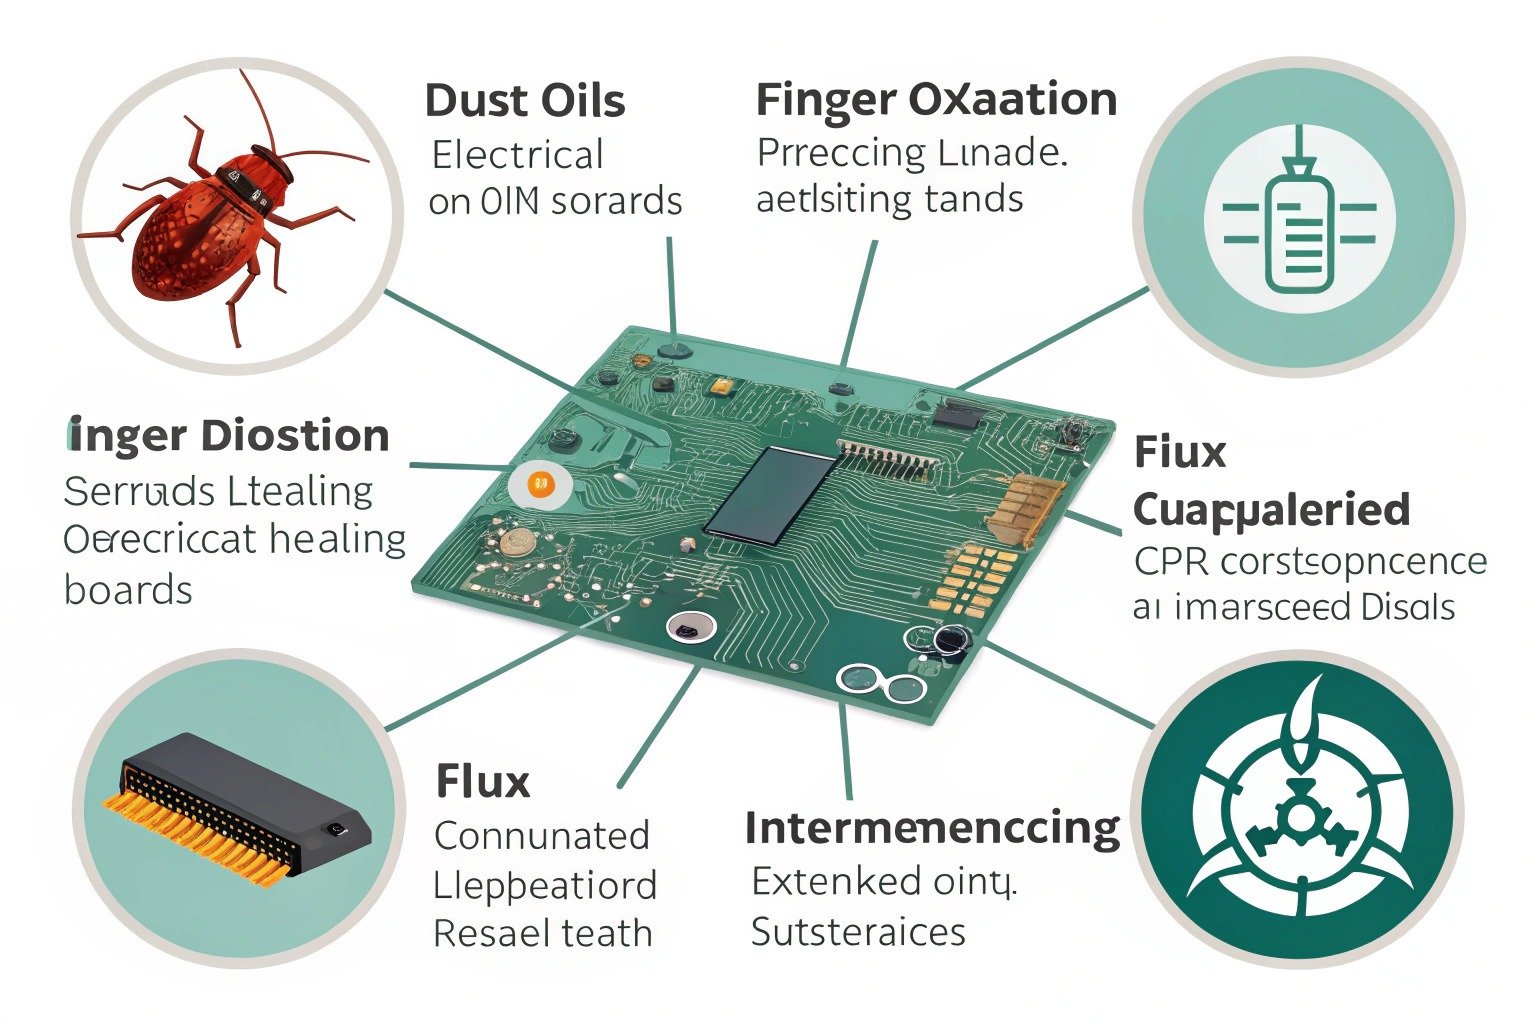
Circuit boards are exposed to many contaminants—dust, oil from your fingers, oxidation, soldering flux, or even insects. Over time, this buildup can lead to electrical leakage, overheating, and signal interference.
For example, dust mixed with humidity may become slightly conductive, causing shorts. Oxidation on solder joints can lead to poor connections. Leftover flux can corrode pads and traces. In consumer devices, even spilled coffee or soda can seep into circuits and cause sticky, damaging residue.
Regular cleaning helps:
- Extend device lifespan
- Prevent intermittent electrical problems
- Improve heat dissipation
- Restore performance in faulty equipment
If you’re working on restoring or repairing electronics, cleaning should always be your first diagnostic step.
Signs Your Circuit Board Needs Cleaning
Here are common signs that your PCB is dirty or contaminated:
- Visible dust, grime, or sticky residue
- Burn marks or darkened areas near components
- Malfunctioning or intermittent behavior
- Corrosion on solder joints or component legs
- Presence of insects, webs, or other organic material
Before assuming a circuit board is broken, clean it and inspect again. You’d be surprised how often a simple cleaning resolves strange electrical behavior.
For examples of visual corrosion and flux contamination, check this guide from Electronics Notes.
What You’ll Need
To safely clean a circuit board, prepare the following items:
- 99% Isopropyl Alcohol (IPA) – The safest and most effective cleaning solvent.
- Antistatic Brush or Toothbrush – For scrubbing without damaging traces.
- Lint-Free Wipes or Cotton Swabs – For precise application and drying.
- Compressed Air – To blow off dust and dry moisture.
- Latex/Nitrile Gloves – To prevent finger oils from contaminating the board.
- ESD Mat or Wrist Strap – Optional but ideal for static-sensitive components.
Avoid household cleaners, tap water, or paper towels, which can leave residues or cause damage.
Step-by-Step Cleaning Process
Follow these steps to safely clean your circuit board:
1. Power Down and Disconnect
Unplug the device and remove the battery. Discharge large capacitors if possible.
2. Initial Dust Removal
Use compressed air to blow away loose dust. Avoid blowing moisture into connectors.
3. Spot Cleaning
Apply isopropyl alcohol with a cotton swab to affected areas. Scrub gently using a soft brush in circular motions.
4. Deep Cleaning (if needed)
For severe corrosion or sticky residue, soak the board in IPA for a few minutes. Then scrub gently and remove excess alcohol with a lint-free cloth.
5. Dry Thoroughly
Let the board air-dry or use compressed air to accelerate drying. Ensure it’s completely dry before powering up.
6. Inspect Under Magnification
Use a magnifier or camera to check for broken traces, cold solder joints, or leftover residue.
Note: Do not power on the board while alcohol is still evaporating—IPA is flammable and can cause short circuits.
When to Use Professional Cleaning
Some cases require more than DIY cleaning:
- Liquid damage to smartphones or laptops
- Heavily corroded contacts
- Complex multilayer PCBs
- Medical or military electronics requiring precision standards
In such cases, consider ultrasonic cleaning—a process that uses high-frequency sound waves to remove dirt from microscopic crevices. Many repair labs offer this service, especially for water-damaged devices.
For more on ultrasonic PCB cleaning, read this comparison by PCBWay.
Conclusion
Cleaning a circuit board can restore function, prevent damage, and even save you from replacing a perfectly working device. Using the right materials—like isopropyl alcohol and antistatic brushes—and following a careful process ensures safe, effective cleaning.
Whether you’re a hobbyist fixing a retro console or a technician troubleshooting a control board, knowing how to clean a circuit board is a valuable skill. Start simple, be patient, and never underestimate the power of a clean PCBA.

