
Learning how to use a PCBA prototype board is key to turning circuit ideas into functional prototypes. These boards allow for efficient testing, quick iteration, and early validation before full-scale production.
A PCBA prototype board allows engineers and makers to test electronic designs before mass production. It simplifies debugging, speeds up development, and prevents costly manufacturing errors.
If you’re building a new electronic device or testing a concept, a PCBA (Printed Circuit Board Assembly) prototype board is your best starting point. These boards let you evaluate layout, performance, and component behavior before committing to large-scale production. But how exactly do you use a prototype board efficiently—and what should you avoid?
This guide will walk you through what a PCBA prototype board is, why it’s important, and how to use one to reduce risk and accelerate development.
What Is a PCBA Prototype Board?
A PCBA prototype board is a fully assembled version of your PCB design—but made in small quantities and often using temporary or trial components. It contains soldered components, traces, and vias exactly like a production board, but is used purely for testing.
Prototype boards are used at different stages of product development:
- Early-stage concept testing
- Functional and mechanical verification
- Firmware development and debugging
- EMI, thermal, and reliability assessments
Manufacturers like JLCPCB provide quick-turn PCBA prototyping services to help engineers validate designs without the delays and risks of mass production.
Why Use PCBA Prototypes?
Before jumping into how to use a PCBA prototype board, it’s important to understand why they matter.
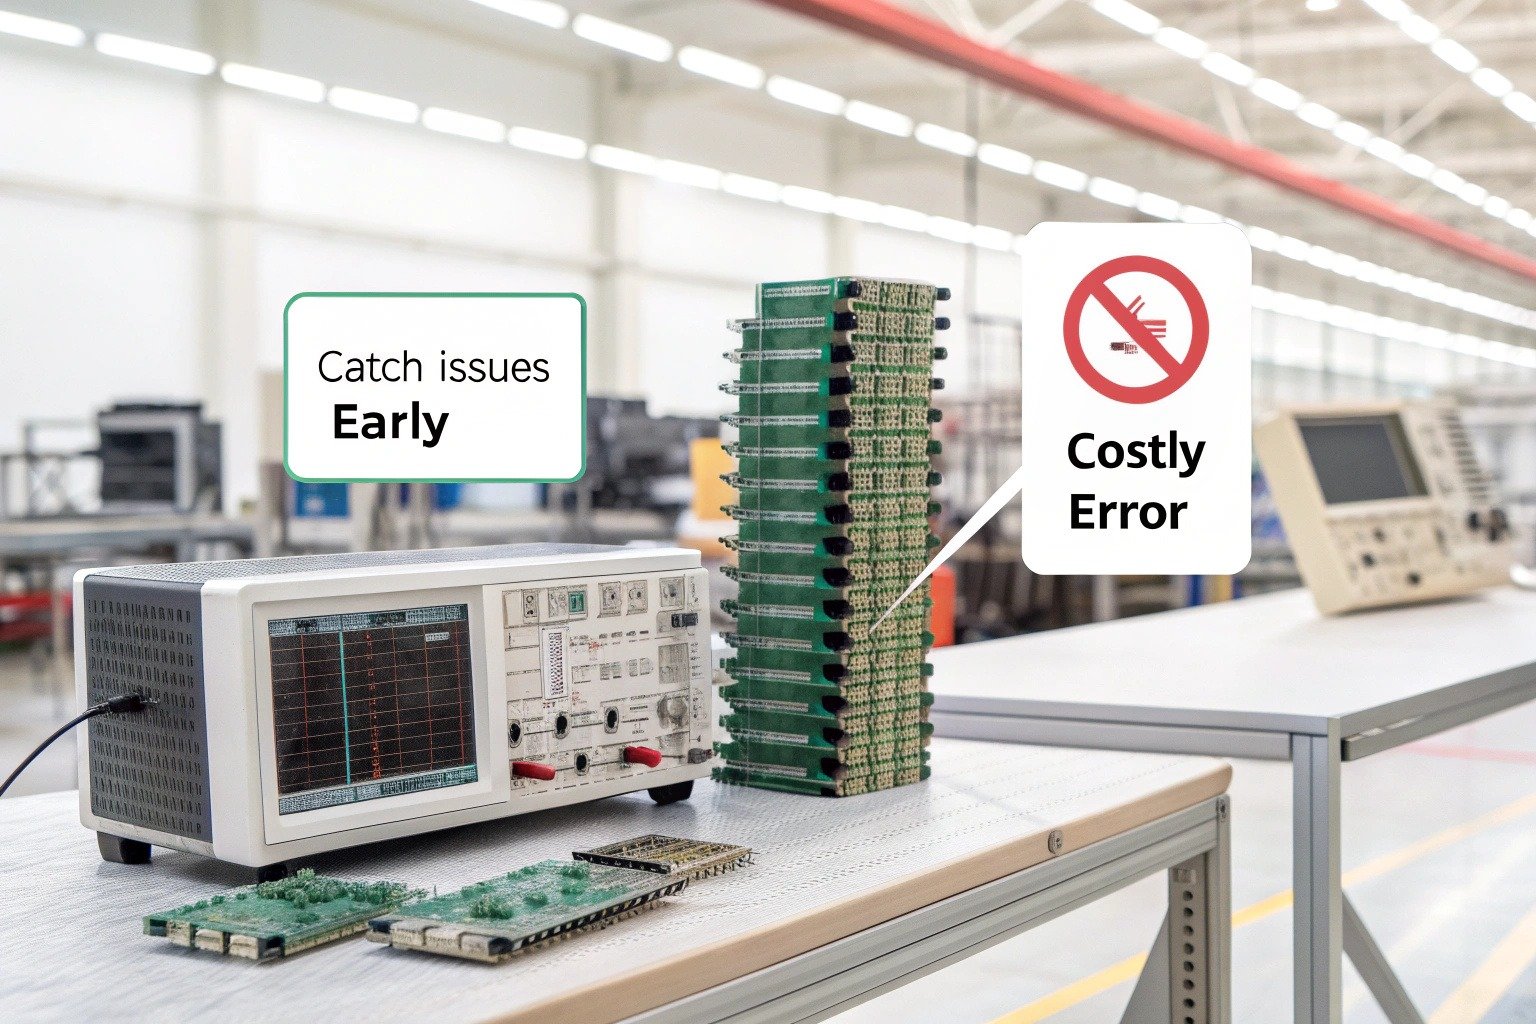
A full production run of circuit boards is expensive. If you discover an error—whether in layout, component selection, or routing—you may need to discard hundreds or thousands of units. Prototypes let you catch those mistakes while the cost is still low.
They also allow you to:
- Test signal behavior and impedance
- Validate component fit and thermal response
- Identify soldering and layout problems
- Ensure firmware runs properly with hardware
- Get early feedback from users or clients
In other words, a PCBA prototype lets you fail early—so you can succeed faster later.
How to Use a PCBA Prototype Board
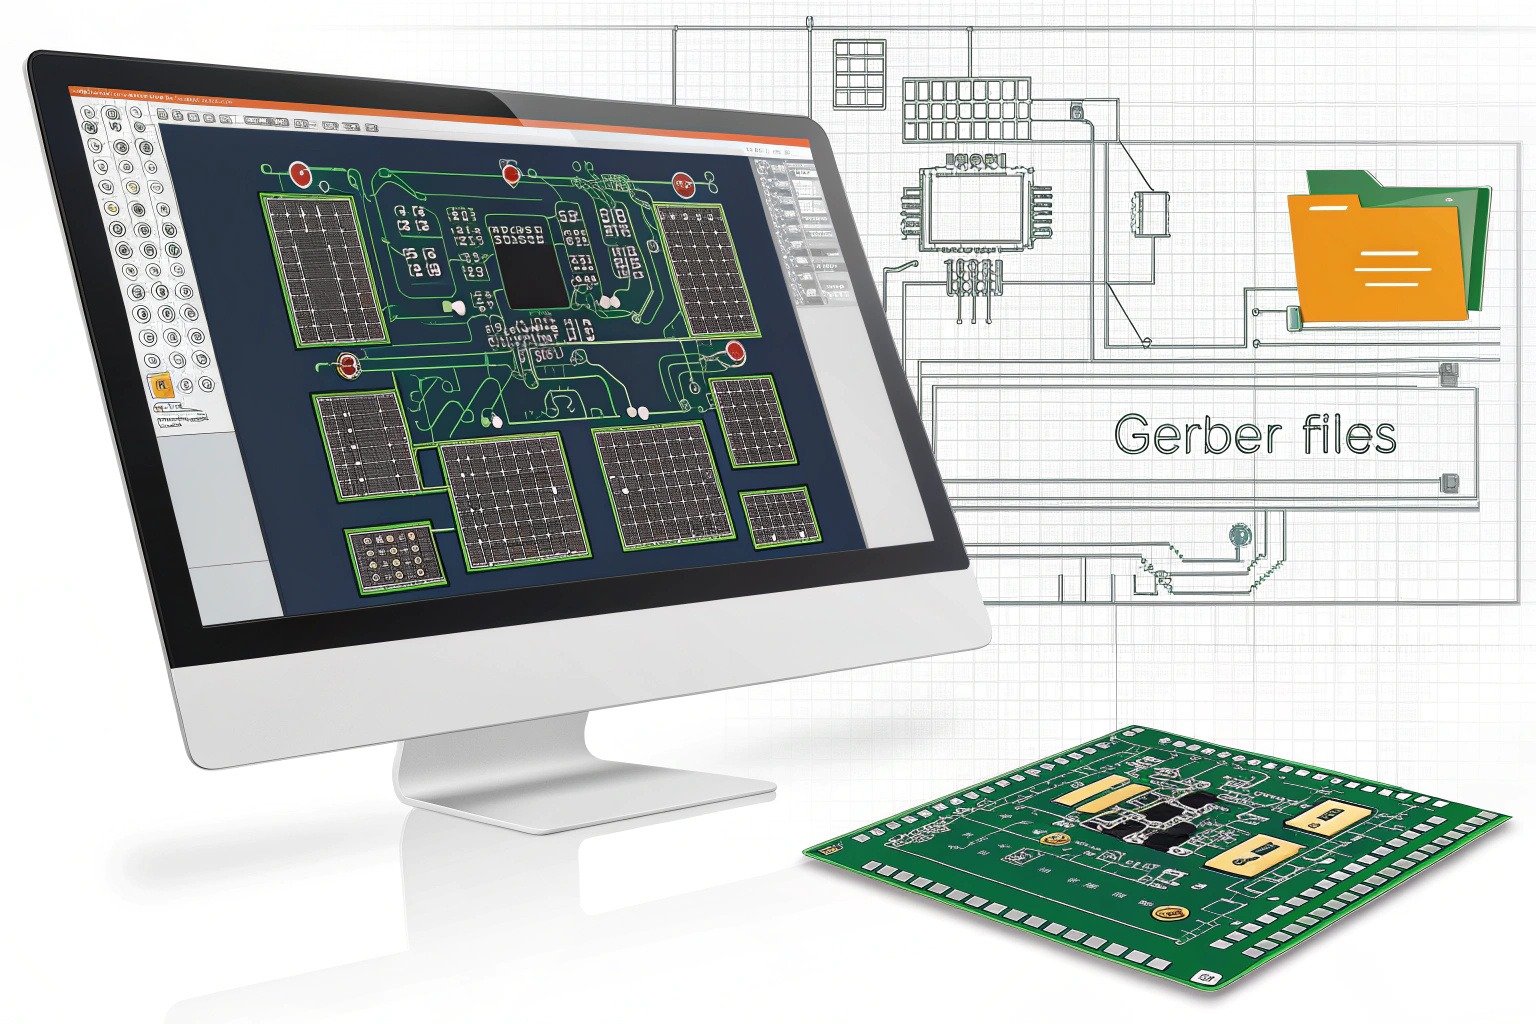
To get started with a prototype board, you first need to design your PCB using EDA software (like KiCAD, Altium, or Eagle), then send the design files—typically Gerber files—to a prototype service.
Once your assembled board arrives, follow these steps:
Step 1: Visual Inspection
Check the board for visible defects: solder bridges, missing components, misaligned ICs, or broken connectors. A magnifying lamp or microscope helps with inspection.
Step 2: Power Testing
Before connecting any peripherals, power up the board using a limited power supply (with current limiting). Monitor voltage rails and check for shorts.
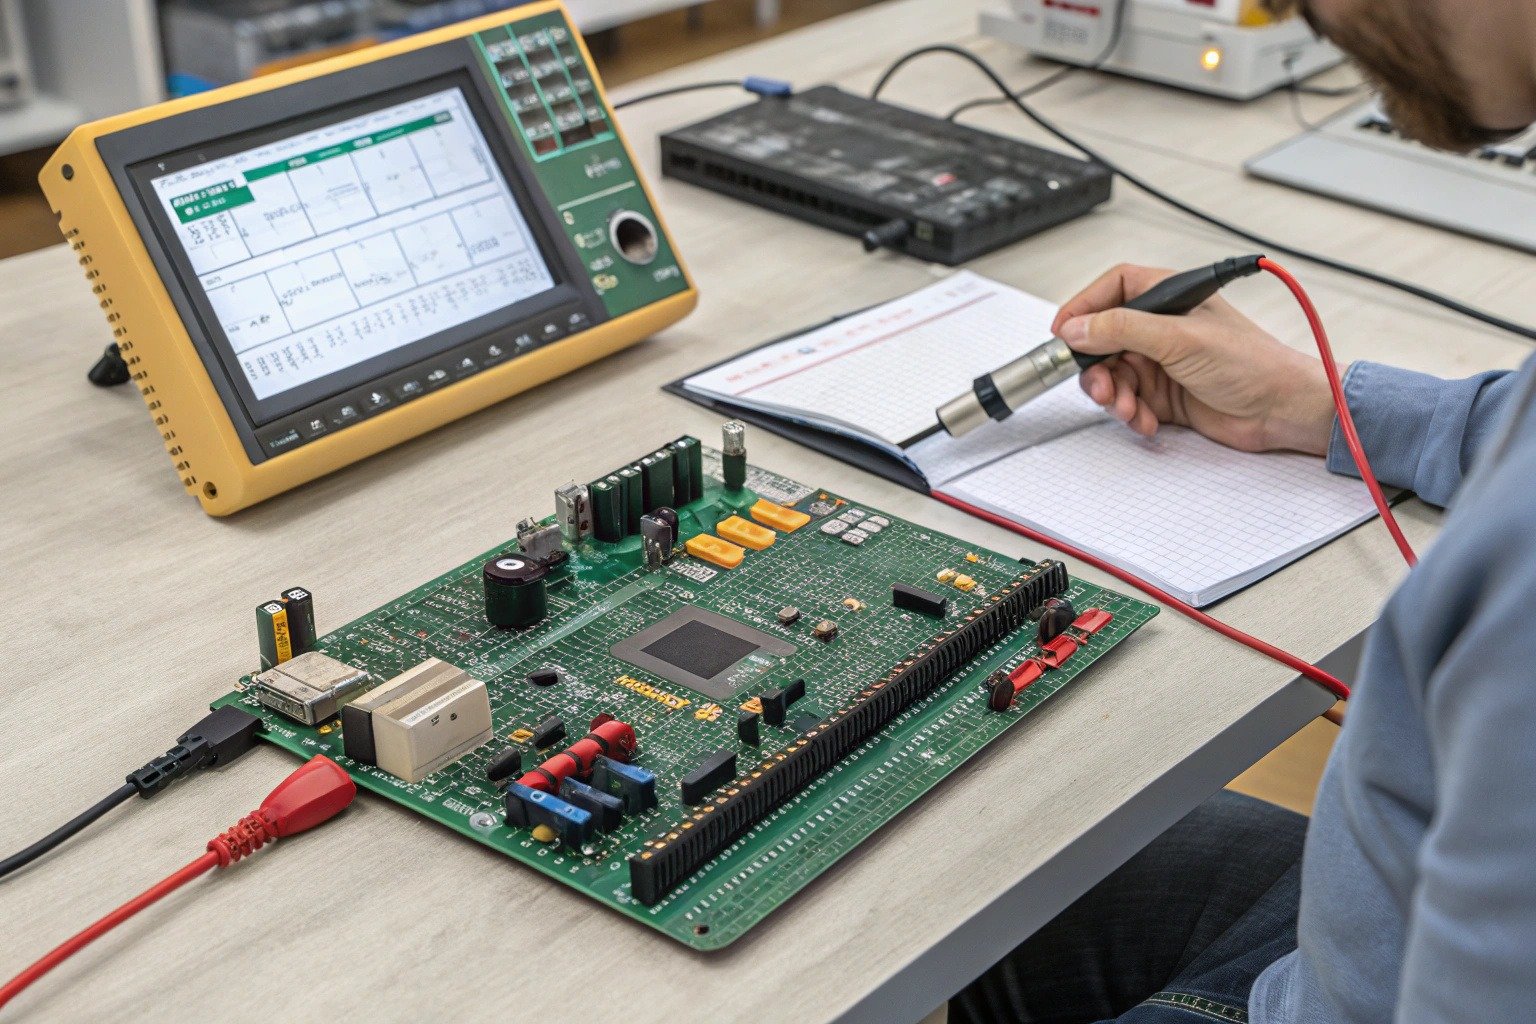
Step 3: Functional Testing
Connect probes, sensors, displays, or communication modules as needed. Run test code or firmware to validate behavior. If using digital logic, consider using a logic analyzer or oscilloscope.
Step 4: Debug and Iterate
Take notes on what works and what doesn’t. Use jumper wires or bodge fixes where necessary. Document changes and feed improvements into the next board revision.
This cycle—test, analyze, iterate—is what makes prototyping so powerful.
Tips for Successful Prototyping
Using a PCBA prototype board well takes more than plugging it in. Two key practices help ensure success:
- Document everything: Keep track of changes you make by hand (like swapped resistors or added jumpers). This ensures your next PCB version includes all improvements.
- Test in real conditions: Don’t just run tests on your workbench. Simulate real-world environments, from power fluctuations to mechanical strain or signal noise.
Also, don’t be afraid to order multiple prototypes with minor variations. Testing layout A vs. B side-by-side can speed up decision-making and reduce guesswork.
Conclusion
Using a PCBA prototype board is one of the smartest ways to develop reliable electronics while saving time and money. It helps identify issues early, streamline debugging, and fine-tune your design before large-scale production.
Whether you’re a hobbyist building your first IoT device or a company launching a new product, prototyping isn’t optional—it’s essential. By following a structured approach and working with trusted suppliers, you can bring your hardware ideas to life faster, safer, and smarter.
To get started with prototyping services, check out this complete guide by JLCPCB.
