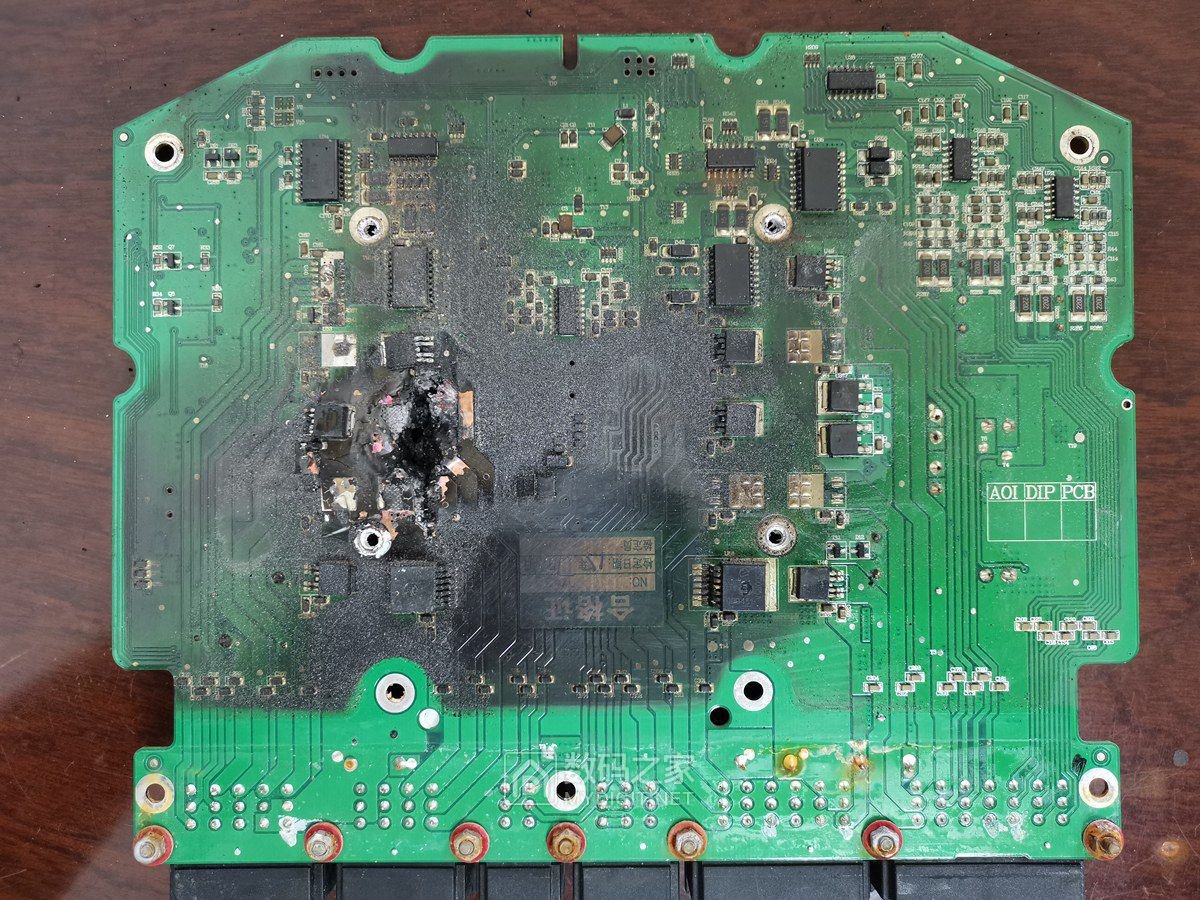
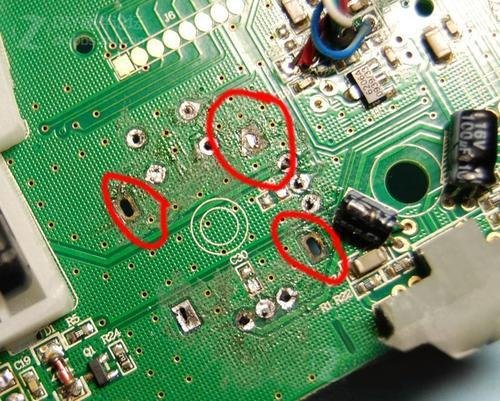
Printed Circuit Boards (PCBs) are constructed using multiple layers of copper and fiberglass, bonded together with adhesives or epoxy resins. While the epoxy used in PCBs is heat-resistant, it can still suffer damage from overheating and excessive pressure.
At this point, you might be wondering how to repair damaged circuit board contacts. Repairing a circuit board can indeed be a challenging task, often requiring significant time and focus.
But don’t worry.
In this guide, we will outline the simplest methods for repairing damaged circuit boards, as well as how to effectively fix burnt PCB pads. Whether you’re a seasoned technician or a DIY enthusiast, our step-by-step approach will help you tackle these repairs with confidence.
How to Repair Damaged Circuit Board Contacts

When the wiring on a printed circuit board (PCB) becomes damaged, the device’s functionality can be severely impacted, leading to subpar performance. Therefore, understanding how to repair these damaged contacts is crucial. This process can be frustrating, as it is both time-consuming and requires intense focus. However, with the right methods and techniques, you can effectively restore the functionality of the circuit board. In the following sections, we will introduce some simple approaches to repairing circuit board contacts, helping you tackle this challenge with confidence.
Step 1: Apply Epoxy Resin
The first crucial step in repairing any damaged or broken sections of a printed circuit board (PCB) is the proper application of epoxy resin. To ensure a successful repair, start by consulting the user manual and following the manufacturer’s guidelines for mixing the resin.
Once prepared, carefully apply the epoxy to one side of the damaged PCB. Then, press the two separated sections of the PCB together, ensuring that the resin creates a solid bond between them. The epoxy typically requires about 20 to 30 seconds to begin curing, but for optimal results, it’s advisable to hold the pieces together for at least 30 minutes. This allows the epoxy to fully set and secure the damaged areas of the circuit board effectively.
Taking this time to ensure a strong bond will significantly enhance the durability of your repair, allowing for reliable functionality once the circuit board is reassembled.
Step 2: Repair the Traces
Next, carefully inspect the printed circuit board (PCB) for any broken copper traces. Using an appropriate precision knife, delicately cut away the damaged sections of the copper traces. It’s essential to work methodically, addressing each broken line one at a time to ensure a thorough repair.
After removing the damaged and missing traces, take a fine-grit sandpaper and gently smooth the exposed areas where the copper has been removed. This sanding process is crucial, as it prepares the surface for new connections. Ensure you sand both sides of the trace until you can see a bright, clean copper surface, free of oxidation or debris.
Throughout this process, exercise caution to avoid disturbing any undamaged traces on the PCB. Keeping these intact is vital for maintaining the overall functionality of the circuit board, ensuring that your repairs do not inadvertently compromise other connections. By handling the PCB with care, you can achieve a successful and durable repair.
Step 3: Prepare for Soldering
Next, it’s essential to prepare the printed circuit board (PCB) for soldering, which will help restore the necessary wired connections. Begin by locating a suitable 110V power outlet and plug in your soldering iron.
Allow the soldering iron to heat up adequately; this process usually takes a few minutes. Once the tip is hot, use a damp soldering sponge to clean it. Before cleaning, remember to unplug the soldering iron to avoid any accidental burns. This cleaning step is critical, as it ensures that the tip is free from any dirt, oxidation, or residue that could interfere with a successful soldering process.
A clean soldering tip will allow for precise application of solder, which is crucial for creating strong, reliable connections between the repaired traces. After the tip is clean and hot, you’re ready to proceed with the soldering, ensuring that you maintain a steady hand for the best results.
Step 4: Apply a Solder Coating
At this point, it’s time to apply a thin, effective layer of soldering resin to the tip of your soldering iron. A proper application of solder will give the tip a bright silver appearance, indicating that it’s ready for use. If the tip appears dark gray instead, it suggests that it’s contaminated or oxidized.
In such cases, you may need to revisit Step 3 and Step 4 to ensure that the soldering iron tip remains clean and well-maintained, as this is crucial for optimal soldering performance. A clean tip facilitates efficient heat transfer, which is essential for achieving strong and reliable solder joints.
Failure to maintain a clean tip can lead to poor soldering results, characterized by weak connections or cold solder joints. Therefore, taking the time to properly coat the soldering tip is vital before proceeding with the soldering process. Once the tip is adequately coated, you’re set to begin soldering the repaired traces with confidence.
Step 5: Apply Flux Core
Next, identify the exposed copper traces on the printed circuit board and apply a thin layer of flux core soldering paste. This step is crucial for ensuring a solid connection during the soldering process.
Be cautious not to apply excessive heat to the copper traces. Overheating can damage the printed circuit board and lead to further complications. Additionally, if the heat exceeds the required level, it may cause the copper traces to separate from the board, compromising the integrity of your repair.
Applying flux not only helps improve the flow of solder but also enhances the overall conductivity of the connections. Take your time with this step to ensure that the flux is evenly distributed without over-saturating the area. Once you’ve successfully applied the flux, you’re ready to move on to soldering the connections.
Step 6: Lay Down the Copper Wire
Now, select a high-quality 18-gauge copper wire. Use cutting tools to cut the wire to an appropriate length, ensuring it can bridge the gaps in the damaged copper traces.
Once you have the correct length, proceed to tin the ends of the copper wire using flux core solder. This process will enhance the wire’s ability to bond securely with the copper traces on the printed circuit board.
Carefully position the tinned wire over the damaged areas, ensuring it aligns properly with the existing traces. This step is essential for re-establishing a reliable connection and ensuring the functionality of the circuit board. Once the wire is in place, you can move on to soldering it securely to the board.
Step 7: Layer the Copper Wire
Using tweezers, carefully pick up each tinned wire one at a time. Place the wires in the areas where you previously removed the damaged traces.
After layering the copper wire across the gaps in the circuit traces, it’s essential to solder them securely. To do this, use the tip of your soldering iron to precisely melt the 18-gauge copper wire into the holes.
Make sure to repeat the soldering process for each loose trace to ensure a proper connection. This step is crucial for restoring the electrical pathways on the printed circuit board and ensuring its functionality.
Step 8: Verify Functionality
Once the repair is complete, reassemble the device and check to ensure everything is functioning correctly. Ideally, it should operate as intended.
However, if the device still exhibits issues, you may need to troubleshoot further to identify the underlying problems and repeat the repair process as necessary. This step is crucial for confirming that your repairs have successfully restored the circuit board’s integrity and performance.
How to Repair a Burnt Circuit Board

Repairing a burnt printed circuit board (PCB) is not overly complex but requires careful attention and patience. Here are the key steps to effectively restore the damaged area.
- Clean the Burnt Area
Begin by using a cotton swab dipped in isopropyl alcohol (IPA) to gently clean the burnt area. This step is crucial for removing dirt, dust, and oxidation, ensuring that the repair materials adhere well. - Remove Loose Material
Carefully use an appropriate blade or tool to remove any loose material from the burnt area of the circuit board. This includes any charred residue or broken circuit traces. Be cautious to avoid damaging surrounding functional traces to prevent further issues. - Apply Epoxy Resin
After addressing the damaged components, select a suitable epoxy resin for the repair. Mix the resin according to the manufacturer’s instructions and apply it to the affected area. This will help restore the circuit’s insulation and structural integrity. - Re-establish Electrical Connections
Next, you will need to reconnect the electrical pathways. Use the previously mentioned methods to solder copper wire or solder to bridge the broken circuit. This step ensures that current can flow smoothly through the circuit.
By following these steps, you can effectively repair a burnt circuit board, thereby extending the lifespan and performance of your device. It is essential to handle each stage with care to ensure that every aspect of the repair is properly executed.
Conclusion
Printed circuit boards (PCBs) are a cornerstone of modern technology, integral to countless devices that we rely on daily. When these circuit boards become damaged, it can lead to significant operational issues, impacting both functionality and performance. The guidelines provided on repairing damaged PCB contacts aim to equip you with the knowledge needed to address these challenges effectively.
Fortunately, while the repair process may seem daunting, it is quite manageable with the right approach. Success hinges on a careful and methodical approach, as well as a commitment to precision. By exercising patience and attention to detail, you can restore functionality to damaged circuit boards, extending their lifespan and enhancing the reliability of your devices. Remember, with the right tools and techniques, you can navigate the complexities of PCB repair and maintain the technology that supports your daily life.

